
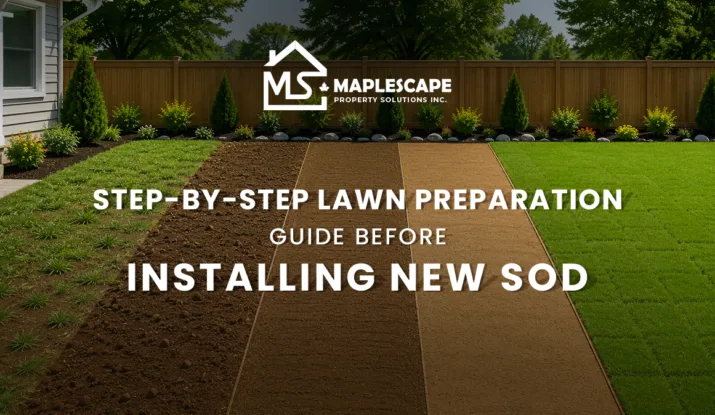
Installing new sod can give your yard a fresh, clean, and greener appearance much faster than waiting for seed to grow. But the final result depends heavily on preparation. If the soil is uneven, compacted, full of weeds, or poorly watered, new sod may struggle to root properly and can become patchy within a few weeks.
For homeowners planning sod installation in Toronto, proper lawn preparation is the most important step before the first roll of sod is placed. A strong foundation helps the new grass settle faster, grow evenly, and stay healthier after installation.
Why Is Lawn Preparation Important Before Installing Sod?
Sod is living grass with a thin layer of soil and roots attached. Once installed, it needs quick contact with prepared soil so the roots can begin growing into the ground below.
Poor preparation can lead to:
- Uneven lawn surface
- Weak root development
- Water pooling
- Dry patches
- Weed growth
- Sod lifting at the edges
- Patchy or yellow grass
Good preparation helps the sod connect with the soil, absorb water properly, and establish a stronger lawn. This is why the work before installation matters just as much as the installation itself.
Step 1: Inspect the Current Lawn Condition
Before removing old grass or ordering sod, inspect the lawn carefully. This helps you understand what needs to be corrected first.
Check for:
- Bare spots
- Weed growth
- Uneven ground
- Drainage issues
- Compacted soil
- Shaded areas
- Damaged or thinning grass
- Low spots where water collects
This inspection gives you a clear picture of whether the lawn needs simple preparation or deeper correction. If the yard has major drainage or grading issues, those should be handled before sod is installed.
Step 2: Remove Old Grass, Weeds and Debris
New sod should not be placed over old grass, thick weeds, roots, stones, or debris. These materials can block contact between the sod and soil.
Start by removing:
- Existing grass
- Weed roots
- Rocks
- Twigs and branches
- Construction debris
- Thick thatch
- Dead plant material
If weeds are left behind, they may continue growing under or through the new sod. Removing them properly gives the new lawn a cleaner start.
For larger areas, old turf may need to be stripped more thoroughly so the new sod sits evenly on the prepared surface.
Step 3: Check and Improve Soil Quality
Healthy soil supports healthy grass. If the soil is too compacted, sandy, clay-heavy, or nutrient-poor, the sod may not root properly.
Good soil should allow:
- Water movement
- Root growth
- Air circulation
- Nutrient absorption
If needed, add quality topsoil or organic matter to improve the growing base. This can help create better conditions for root development.
Soil preparation is an important part of lawn care and maintenance, especially when trying to build a lawn that lasts beyond the first few weeks.
Step 4: Level and Grade the Lawn Area
A smooth lawn surface helps sod sit flat and grow evenly. Uneven soil can create gaps under the sod, which may lead to dry spots or poor rooting.
Level the area by:
- Filling low spots with soil
- Removing high spots
- Raking the surface evenly
- Creating a gentle slope away from the home
- Checking areas near walkways, patios, and fences
Proper grading is also important for water movement. Water should not collect near the foundation, on patios, or in low lawn areas.
A properly graded lawn is easier to maintain and gives the finished yard a cleaner appearance.
Step 5: Loosen Compacted Soil
Compacted soil makes it difficult for sod roots to grow into the ground. It can also stop water from soaking in properly.
Signs of compacted soil include:
- Hard ground underfoot
- Water sitting on the surface
- Thin grass growth in the past
- Poor drainage
- Heavy foot traffic areas
Loosen the top layer of soil before installation. This creates a better connection between the sod and the ground underneath.
For larger or heavily compacted lawns, aeration or deeper soil preparation may be needed.
Step 6: Add Topsoil Where Needed
Topsoil helps create a better growing surface for new sod. If the existing soil is poor, uneven, or too shallow, adding a fresh layer can improve rooting conditions.
When adding topsoil:
- Spread it evenly
- Avoid thick, uneven piles
- Rake it smooth
- Keep the surface firm but not compacted
- Make sure the final level matches nearby walkways or borders
Too much loose soil can cause sinking later. The goal is to create a stable and smooth base.
Step 7: Lightly Water the Soil Before Installation
The soil should be slightly moist before the sod is installed. Dry soil can pull moisture from the sod too quickly, while soggy soil can make installation messy and uneven.
Water the area lightly before installation so the soil is ready to support new roots.
Avoid installing sod on extremely dry, dusty soil or overly wet ground. Balanced moisture gives the sod a better start.
Step 8: Plan the Sod Installation Timing
Timing affects how well new sod establishes. Sod should be installed as soon as possible after delivery because it can dry out quickly when rolled up.
Before installation day, make sure:
- The soil is prepared
- The area is leveled
- Water access is ready
- Tools are available
- Foot traffic can be limited afterward
- Weather conditions are suitable
Avoid leaving sod rolls sitting for too long, especially in warm weather. Fresh sod needs to be placed and watered quickly.
Many homeowners choose professional landscaping services in Toronto when they want the preparation, installation, and early care handled correctly from the start.
Step 9: Install Sod with Tight Seams
Once the area is ready, sod should be laid carefully with the edges placed close together. Gaps between rolls can dry out and create visible lines.
During installation:
- Start along a straight edge
- Stagger seams like brickwork
- Avoid overlapping pieces
- Press edges together gently
- Trim around trees, beds, and walkways
- Avoid stretching the sod
Proper placement helps the lawn look even and allows the pieces to grow together more smoothly.
Step 10: Water New Sod Immediately
Watering after installation is critical. New sod needs moisture right away so the roots can begin connecting with the soil.
After installation:
- Water the sod thoroughly
- Keep the soil consistently moist during early rooting
- Avoid letting edges dry out
- Reduce watering gradually as roots establish
- Avoid heavy foot traffic during the first stage
The first few weeks are especially important. If new sod dries out too soon, it may turn brown or fail to root properly.
What Mistakes Should Homeowners Avoid Before Sod Installation?
Several common mistakes can affect the final result.
Avoid:
- Installing sod over old grass
- Ignoring weeds
- Skipping soil preparation
- Leaving the surface uneven
- Installing on dry soil
- Forgetting drainage issues
- Waiting too long after sod delivery
- Walking heavily on fresh sod
- Watering too little after installation
A clean and prepared surface gives the new lawn a much better chance of success.
How Long Does New Sod Take to Establish?
New sod usually starts rooting within the first couple of weeks, but full establishment takes longer. The timeline depends on weather, watering, soil quality, and how well the area was prepared.
During the early stage, avoid heavy use of the lawn. Let the roots settle before regular activity, mowing, or outdoor furniture placement.
Once the sod is firmly rooted, you can gradually return to normal lawn use and maintenance.
Thus, a new sod can quickly improve the look of your yard, but strong results begin before installation. Removing old grass, improving soil, leveling the surface, checking drainage, and watering properly all help the sod root better and last longer.
For homeowners who want a cleaner, greener lawn without risking poor preparation or uneven results, professional service from MapleScape Property Solutions can help with lawn preparation, sod installation, and ongoing outdoor maintenance.